Guide 3 of 3
How to land an RC plane
A good landing starts on the downwind leg, long before the wheels touch. Fly the same circuit every time, set the plane up on a long, straight approach into the wind, and the last few seconds become easy.
The circuit
Full size pilots fly a rectangle around the runway called the traffic pattern, and RC pilots fly the same shape in front of them, called the circuit. Its legs, as the FAA's Airplane Flying Handbook names them (FAA-H-8083-3C, ch. 8):
| Leg | What it is |
|---|---|
| Upwind | Along the strip, into the wind: the climb after takeoff, or after a go-around. |
| Crosswind | A 90 degree turn away from you, across the wind. |
| Downwind | Back along the strip, the other way, parallel to it, with the wind behind the plane. |
| Base | Another 90 degree turn, across the wind, toward the line of the strip. |
| Final | The last turn onto the line of the strip, and the straight, descending approach into the wind. |
Fly every circuit the same way: the same height, the same distance out, the same place to start coming down. A steady circuit leads into the steady approach below, and the handbook notes that the round out and touchdown are much easier to fly from a stabilised approach (ch. 9). When every landing starts from the same picture, you can see what was different about the one that went wrong.
On the downwind leg, take power off and let the plane start down once it has passed you, then fly on a little past the end of the strip before you turn onto base (ch. 8). The further past you turn, the longer your final, and a long final gives you time.
The approach
A stabilised approach is a straight line down at a steady angle to a chosen spot, at a steady speed (ch. 9). For an RC plane, pick the spot on the strip where you want to touch down, and watch the plane's path toward it.
- Speed. The handbook's approach speed, when the plane's manual gives none, is 1.3 times the stall speed with the plane set up to land (ch. 9). For Openflight's large high wing trainer, which stalls at about 7.2 m/s, that is about 9.4 m/s (34 km/h). You have no airspeed indicator, so learn what that speed looks like: the nose a little down, the controls still crisp.
- Too high: take off more power. Do not push the nose down to dive at the strip: the plane gains speed, floats along the ground and lands long. Next time, start down earlier on the downwind leg.
- Too low: add power. Do not pull up to stretch the glide. That slows the plane toward a stall at the lowest, worst moment (see stalls and spins).
- Not lined up: small, gentle corrections. If the plane is still well off the line close in, go around.
- Flaps, if your plane has them, give more lift and more drag: a slower approach and a steeper path to the same spot (ch. 9).
The flare and touchdown
Close to the ground, close the throttle and begin the flare, which the handbook calls the round out: "a slow, smooth transition from a normal approach attitude to a landing attitude" (ch. 9). Ease the elevator back a little at a time, so the plane stops descending and flies level just above the grass. As it slows, keep easing back to keep it off the ground. It settles as the speed runs out, and touches down on its main wheels "at or just above the approximate stalling speed" (ch. 9).
Near the ground the wing makes less drag for the same lift. This is ground effect, and it is why a plane floats further than you expect in the flare. Openflight's flight model has ground effect on every airframe, from NACA wind tunnel data, so the float you learn there is the float you will see.
Common mistakes
- Flaring too high. The plane runs out of speed a metre up and drops in, sometimes dropping a wing.
- Flaring too late, or not at all. The plane hits nose wheel first or bounces back into the air.
- Too much speed. It floats the length of the strip. Next time, slow down earlier on the approach.
After a small bounce, hold the attitude, add a little power to cushion the second touch, and let it settle. A big bounce is a go-around (ch. 9). Once it is down, keep it straight with the rudder and keep the wings level with the aileron until it stops.
Crosswind landings
When the wind blows across the strip, it drifts the plane sideways off the line on final. The handbook gives two ways to fight it (ch. 9):
- The crab. Turn the nose partly into the wind, just enough that the plane tracks straight down the line of the strip while pointing a little to the side. Just before touchdown, straighten it with the rudder so the wheels meet the ground pointing the way the plane is moving. The handbook notes the crab is easier to hold on final, but takes "judgment and precise timing" to remove at the right moment.
- The wing low, or sideslip. Lower the upwind wing with aileron, just enough to stop the drift, and hold the nose straight down the strip with opposite rudder. The plane touches down on its upwind wheel first. The handbook recommends this method in most cases, or a crab on final turning into a wing low before the round out.
Either way, land the plane pointing straight. A plane that touches down moving sideways loads its landing gear sideways and can swerve or tip. On the ground the plane tends to turn into the wind like a weathervane, so be ready with rudder, and hold a little aileron into the wind as it slows. If the crosswind is more than your plane or your thumbs can handle, land on another heading or wait for the wind to drop.
Go-arounds
A go-around is not a failure. It is a normal manoeuvre, and the handbook wants pilots to understand early on "that any approach or landing may result in a go-around" (ch. 9). Go around when the plane is too high, too fast, not lined up, when something is on the strip, or after a big bounce.
The handbook's three principles, in order (ch. 9):
- Power. Full throttle, smoothly and without hesitation. Be ready with rudder for the swing as the power comes in.
- Attitude. Stop the descent and climb gently. Raising the nose too soon, before the plane has speed, can stall it.
- Configuration. Flaps up, in stages, once the plane is climbing.
Then fly the circuit again and come back for another approach. The dangerous go-around is the late one: the handbook says a go-around "becomes dangerous only when delayed unduly or executed improperly". Decide early, and go.
If the motor stops
A dead stick landing is a landing without power, and it is the same landing with less choice. Lower the nose straight away to keep flying speed. Turn toward the strip, or toward the best open ground you can reach, and land into the wind if you can. Do not stretch the glide by pulling back: that is the low, slow stall again.
Practise this in Openflight
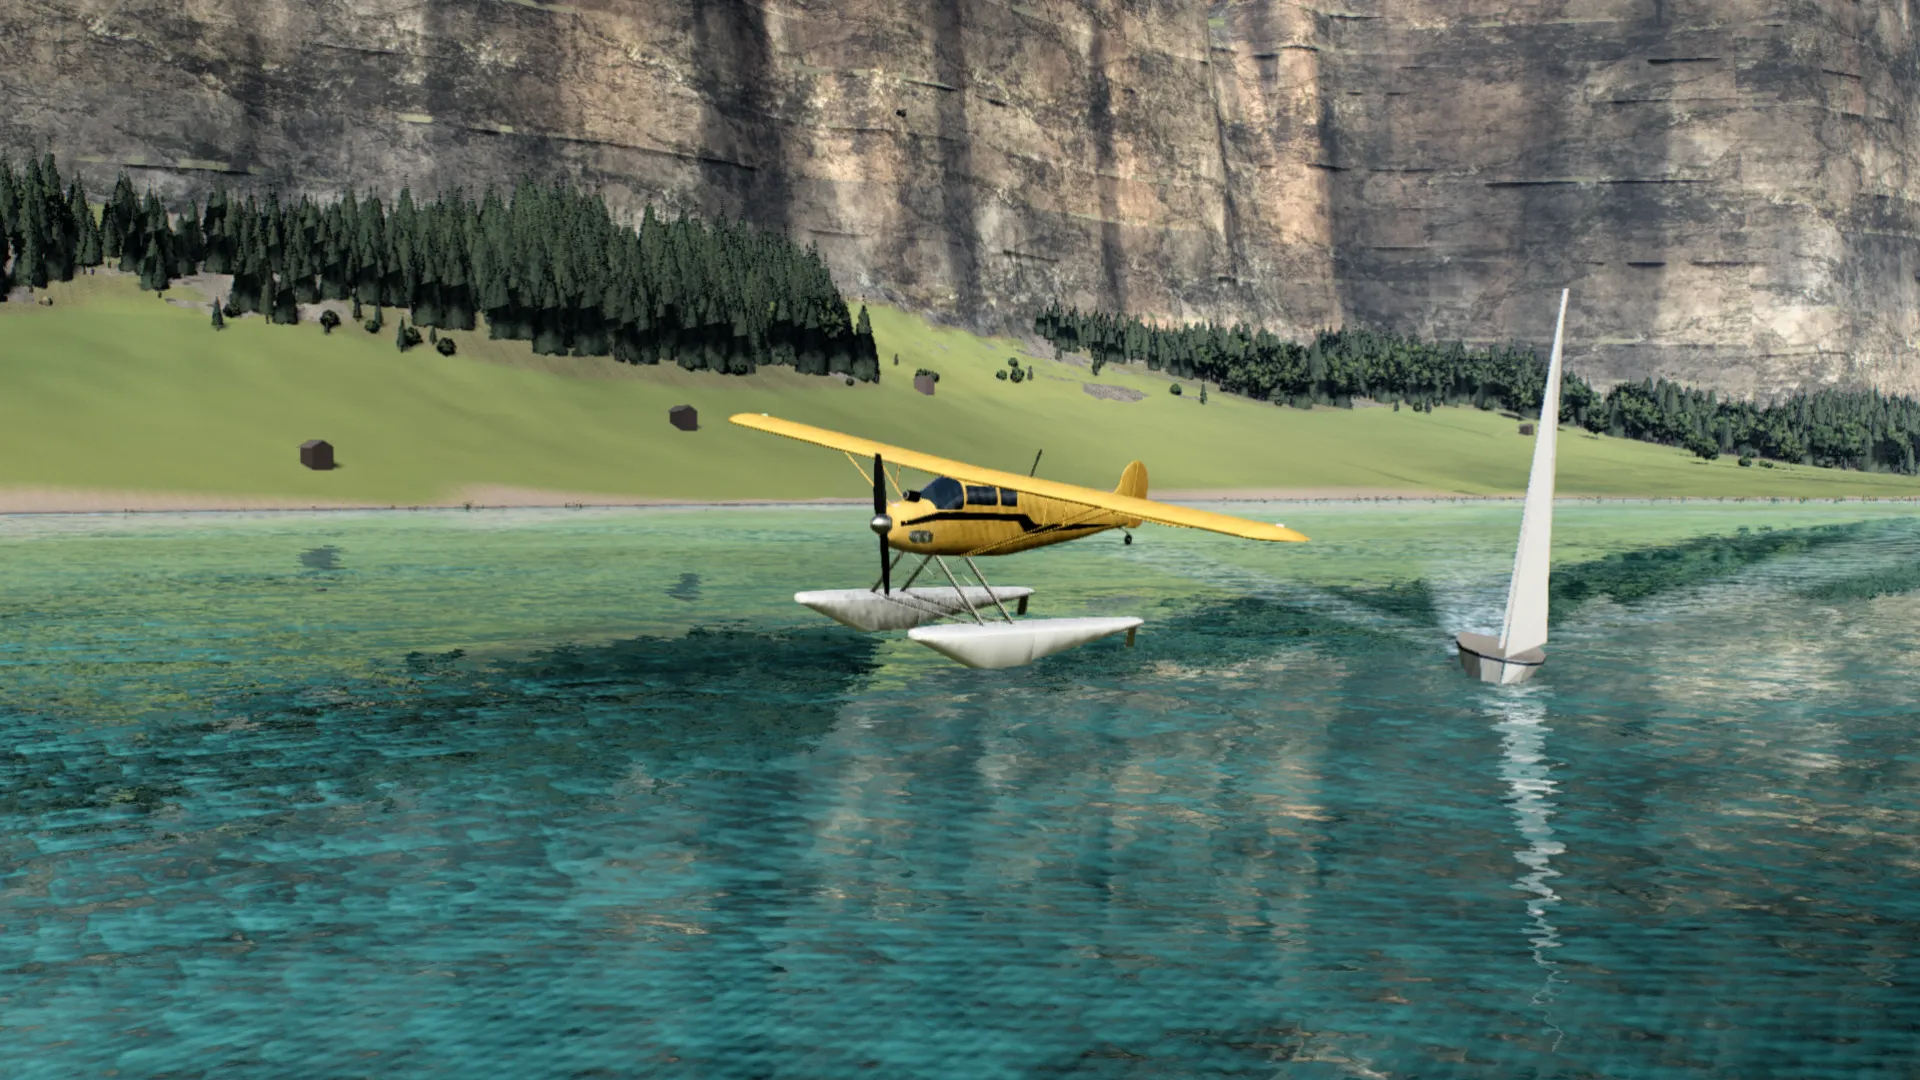
Openflight is a free RC plane simulator that runs in your browser. Fly circuit after circuit to the grass strip, with real wind, gusts and ground effect, and go around as often as you like: nothing breaks for good. Floatplanes land on the lake. Openflight is coming soon.
About OpenflightBefore this one: your first flight and stalls and spins. All guides: Learn to fly RC planes.
Sources
- FAA, Airplane Flying Handbook (FAA-H-8083-3C), ch. 8 (the traffic pattern) and ch. 9 (approaches and landings, the round out, crosswind landings, go-arounds). Quotations are from those chapters.
- NACA Report 738 and NACA TM 77: the ground effect data in Openflight's flight model.
- Openflight's flight model documentation and tests: the trainer's stall speed, derived and held by the simulator's tests, and the wind model, measured in the simulator.