Guide 1 of 3
How to fly an RC plane for the first time
Most of a first flight is decided before the wheels leave the grass: the right plane, the right day, the checks, and a plan for every minute in the air. This is that plan, step by step.
Before you fly: get help, and pick a trainer
The fastest way to learn is with an instructor at a club, flying on a buddy box: a second transmitter wired or linked to the instructor's, so they can take control with one switch. In the United States, the Academy of Model Aeronautics runs an Introductory Pilot Program that lets a newcomer fly one to one with a mentor the club has designated, and it recommends the buddy box. In the United Kingdom, the BMFA's Achievement Scheme gives clubs a ladder of flying tests to train toward, from the Basic Proficiency Certificate to the A and B certificates. Wherever you are, a club is where to start.
Fly a trainer. A trainer has a high wing, generous dihedral (the wings angled up toward the tips, so it rolls itself level when you let go) and a wide gap between its cruising speed and its stall. In Openflight's flight model, a large high wing trainer stalls at about 7.2 m/s (26 km/h) and cruises at about 18.6 m/s (67 km/h) at three quarter throttle: more than twice its stall speed, which is a wide margin for a beginner's mistakes.
Pick a calm day. A light, steady breeze is fine and even helps on takeoff and landing. Gusts are not: they ask for quick corrections before you have the reflexes for them.
Learn your field's rules and your country's. The AMA's National Model Aircraft Safety Code is a good model: never fly over unprotected people, keep spectators behind an established safety line, and keep the plane in sight with your own eyes.
Checks on the ground
- Charge everything: the flight battery and the transmitter.
- Transmitter on first, receiver second. Switch off in the opposite order, so the receiver never runs without a signal from you.
- Low rates on, trims centred. Low rates give smaller control throws, so a nervous stick movement makes a smaller change.
- Check every control moves the right way, standing behind the plane (the table below). A reversed control is the classic first flight crash, and it is found in ten seconds on the ground.
- Balance: the centre of gravity at the point the manual gives. A tail heavy plane is hard to control at any speed.
- Range check and fail-safe, as your radio's manual describes. Set the fail-safe so a lost signal closes the throttle.
- Nothing loose: propeller tight, wing fixed, hatch closed.
| Stick | What should move |
|---|---|
| Aileron stick right | Right aileron goes up, left aileron goes down |
| Elevator stick back (toward you) | Elevator goes up |
| Rudder stick right | Rudder swings to the right, and a steerable nose wheel turns right |
| Throttle up | The motor speeds up (hold the plane, propeller clear of everyone) |
The sticks: Mode 1 and Mode 2
A plane has four controls. Aileron rolls it into a bank, elevator pitches the nose up or down, rudder swings the nose left or right and steers on the ground, and throttle sets the power. The transmitter's mode says which stick does what:
| Mode 2 | Mode 1 | |
|---|---|---|
| Left stick, up and down | Throttle | Elevator |
| Left stick, side to side | Rudder | Rudder |
| Right stick, up and down | Elevator | Throttle |
| Right stick, side to side | Aileron | Aileron |
Neither mode is better. Learn the one your instructor flies, so the buddy box works and they can take over, and then never switch: your thumbs learn the mode.
One idea saves a lot of confusion: the throttle adds or removes energy, and the elevator decides whether that energy goes into height or into speed (the FAA's Airplane Flying Handbook, FAA-H-8083-3C, ch. 4). To climb, add power. To come down, take power off. Pulling back without power trades speed for a moment of height, and then you have neither.
Takeoff
- Point the plane into the wind. A headwind gives the wing some of its airspeed before it moves, so the run is shorter and the plane is easier to keep straight (FAA-H-8083-3C, ch. 6).
- Open the throttle smoothly, over a second or two, not in a slam.
- Steer with the rudder. The propeller's torque and the twist of its slipstream swing the nose as the power comes in. On a plane whose propeller turns clockwise seen from behind, as most do, the swing is to the left, so be ready with a little right rudder (ch. 6).
- Let it build speed, then feed in a little up elevator and let the plane fly itself off. A trainer that is trimmed right often lifts off on its own.
- Climb straight ahead at a gentle angle. A steep climb at low speed is how a beginner stalls just after takeoff (see stalls and spins).
- No turn until you have height, and make the first one gentle.
No wheels? A hand launch works the same way: full throttle, wings level, nose level or a touch up, thrown firmly straight into the wind by a helper so you can keep both hands on the sticks.
The first circuit
Fly a big oval in front of you. Keep the long sides parallel to the line you stand on, at the same distance out, and make your turns at the ends, so the plane never passes behind you or over the pits.
Turning
Roll into a gentle bank with the aileron, then centre the stick. As the plane turns, hold a little up elevator so the nose does not drop, and add a touch of rudder in the direction of the turn if the tail skids. To stop turning, roll level with opposite aileron. A three channel trainer (rudder, elevator, throttle) turns on the rudder alone: the dihedral turns the yaw into a bank.
When it comes toward you
Flying away from you, right stick is right. Coming toward you, the plane's right is your left, and every new pilot reverses a correction at some point. The rule that always works: move the aileron stick toward the low wing to pick it up.
Wind, and keeping it upwind
A plane flies through the air, not over the ground. In a steady wind its airspeed does not change with its heading; only its speed over the ground does. Openflight's flight model shows exactly that: a trainer flying into a 5 m/s headwind has the same airspeed as in still air, and moves 5 m/s slower over the ground. So the downwind leg looks fast. Do not pull back or cut the throttle to slow it down, because the wing only cares about its airspeed.
The wind also carries the plane downwind of you while it turns. Keep every circuit upwind of where you stand, and if it drifts far downwind, turn back early. A small trainer far downwind can need a long time to fight its way home against the wind.
Trim
Once you are high and settled, fly straight and level and let go for a moment. If it climbs, give it a click or two of down trim. If it banks one way, give it aileron trim the other way. A few clicks at a time, until it flies straight with your thumbs off. Many instructors trim a new plane for you on its first flight.
If you get lost
Add a little power, level the wings, and fly a straight line until you can see which way the plane is going. Height is time. Your instructor can take over at any point; let them.
Coming home
Plan the landing before the battery runs low: set a timer well inside your flight time. Fly the circuit lower, take power off on the downwind leg, turn onto a long, straight final approach into the wind, and close the throttle as the plane nears the grass. That part has its own guide: how to land an RC plane. If anything about the approach looks wrong, add power, climb straight ahead and go round again. There is no shame in a second try.
Practise this in Openflight
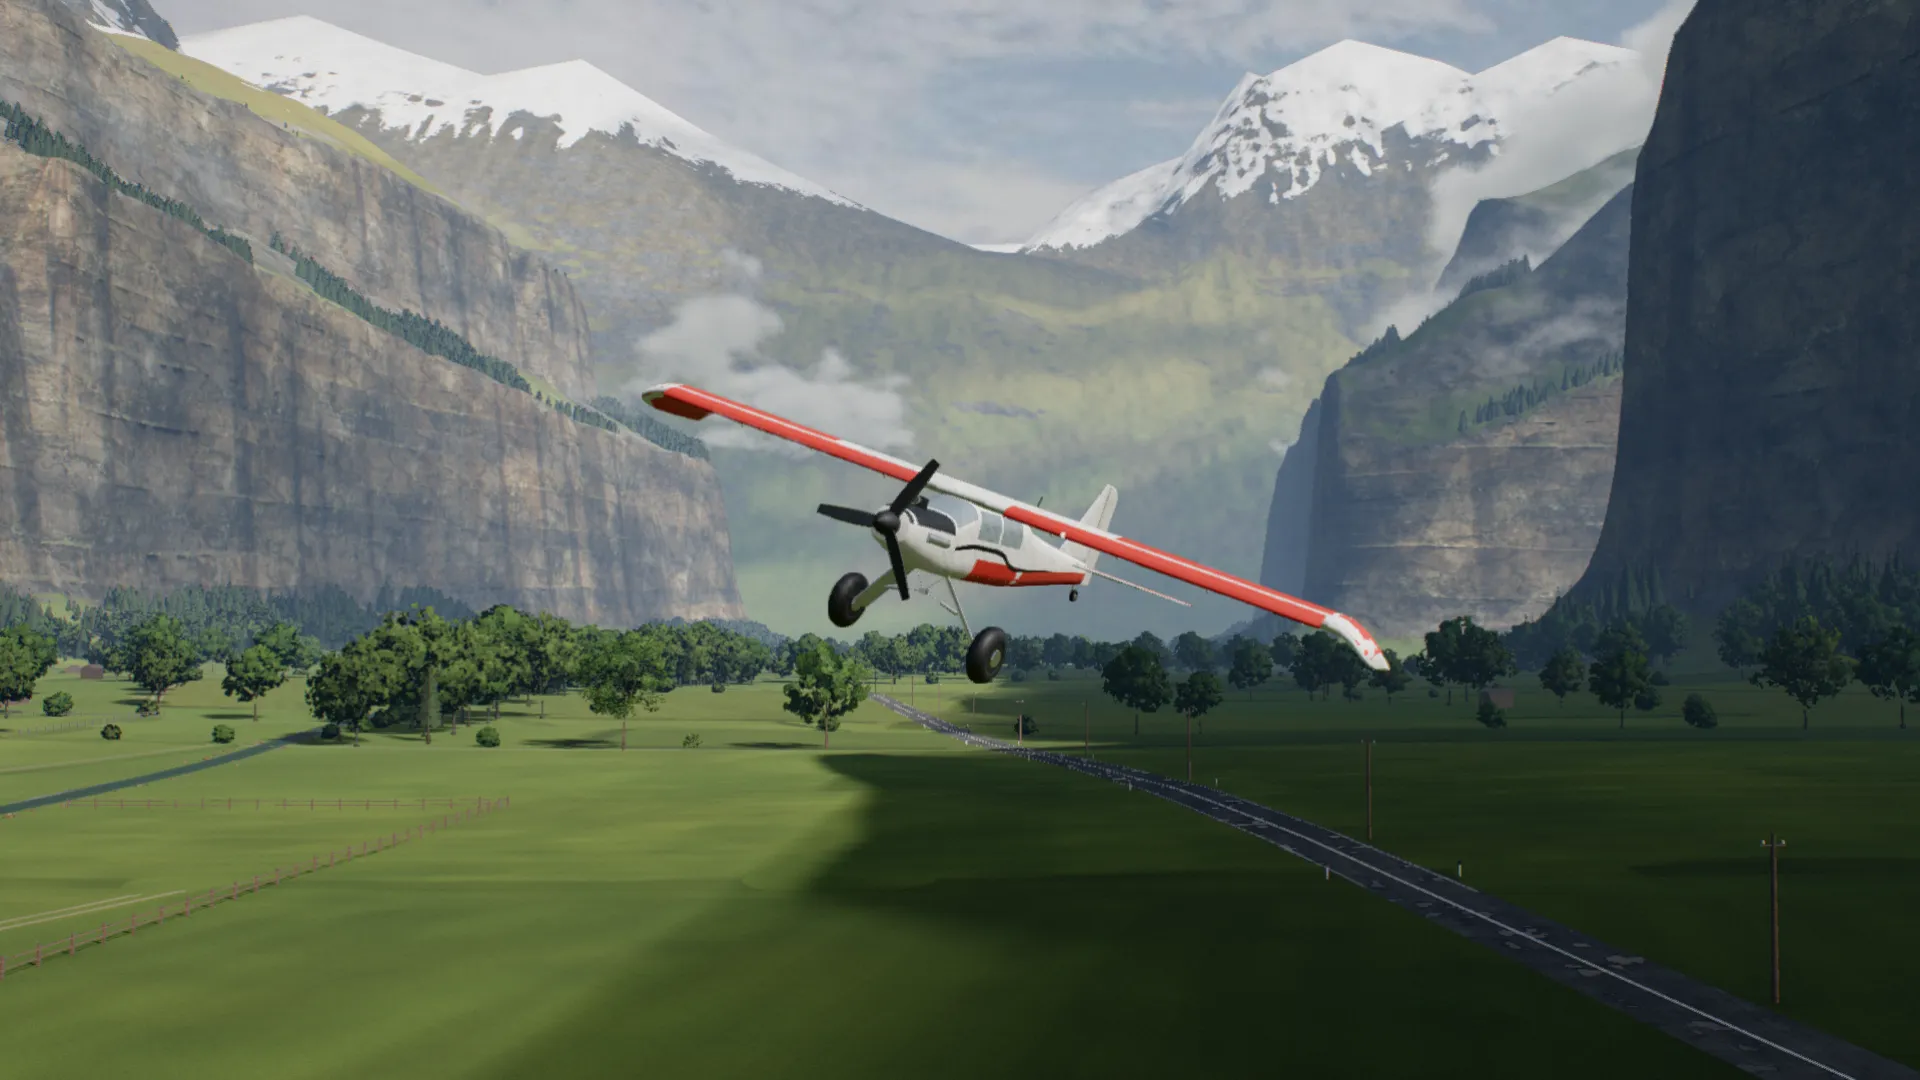
Openflight is a free RC plane simulator that runs in your browser: trainers on a grass strip in an alpine valley, real wind and gusts, and your own transmitter over USB, a gamepad or the keyboard. Choose Mode 1 or Mode 2 and fly your first hundred circuits where a crash costs nothing. Openflight is coming soon.
About OpenflightNext guide: Stalls and spins: why RC planes stall and how to recover. All guides: Learn to fly RC planes.
Sources
- FAA, Airplane Flying Handbook (FAA-H-8083-3C), ch. 4 (energy management) and ch. 6 (takeoffs).
- Academy of Model Aeronautics, National Model Aircraft Safety Code and Introductory Pilot Program.
- BMFA, Achievement Schemes.
- Openflight's flight model documentation and tests: the trainer's stall and cruise speeds, derived from its weight, wing and propeller and held by the simulator's tests, and the wind model, measured in the simulator.